Collector field guide

Loose vs boxed collecting

Choose based on space, playability, budget and tolerance for fragile packaging.

Loose vs boxed collecting

Choose based on space, playability, budget and tolerance for fragile packaging.

Completeness is a list, not a feeling

A console can look complete while missing the exact insert, cable, manual, bag, registration card or regional accessory that originally shipped with it. Build a component list for the specific model and region before evaluating a premium. Compare packaging layouts and known contents rather than relying on a seller’s use of “complete.”

Collector decisions improve when claims are converted into observable evidence. Ask for clear photographs, exact model information and a description of the test procedure. Keep cosmetic condition, functional condition, originality and completeness as separate categories rather than collapsing them into one vague grade.

Match the parts to one another

Check model numbers, region markings, serial ranges and packaging style. A correct box paired with a later console revision may still be attractive, but it should not be represented as an untouched original set. Replacement foam, reproduced bags and reprinted paperwork should be disclosed.

Collector decisions improve when claims are converted into observable evidence. Ask for clear photographs, exact model information and a description of the test procedure. Keep cosmetic condition, functional condition, originality and completeness as separate categories rather than collapsing them into one vague grade.

Grade the packaging separately

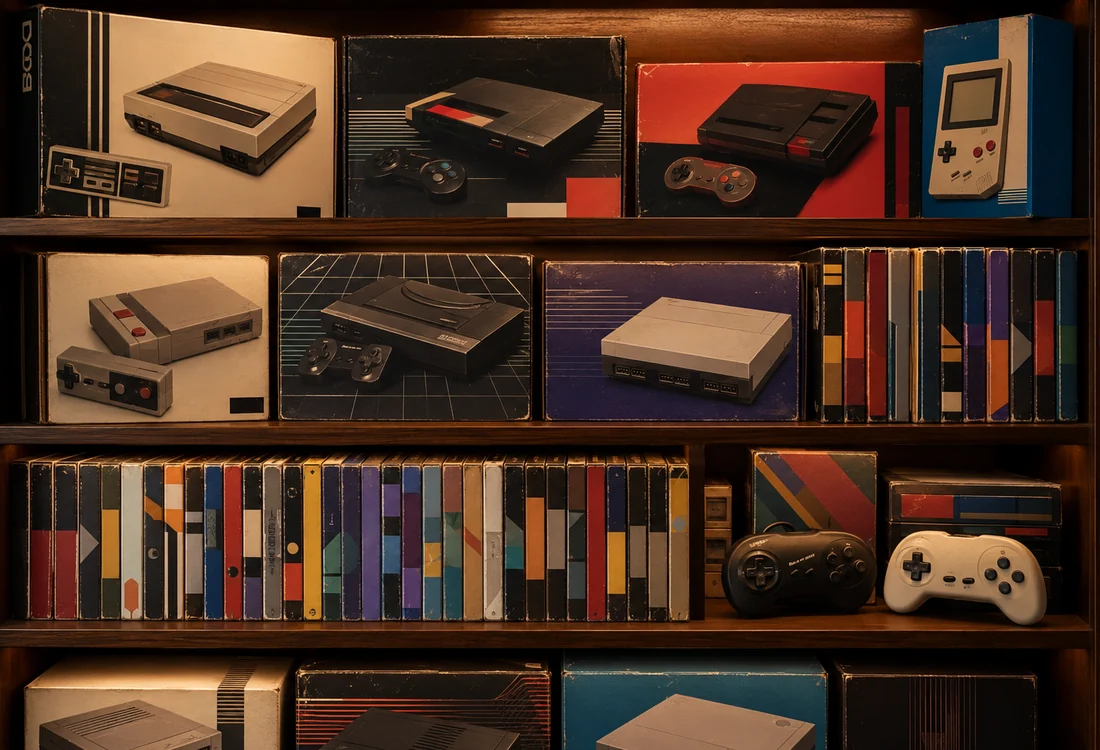
Box condition, insert condition and hardware condition are separate judgments. Crushing, tears, sun fading, tape, marker, moisture distortion and missing flaps can materially affect desirability. Photograph every panel and the internal arrangement before removing items.

Collector decisions improve when claims are converted into observable evidence. Ask for clear photographs, exact model information and a description of the test procedure. Keep cosmetic condition, functional condition, originality and completeness as separate categories rather than collapsing them into one vague grade.

Practical checklist

  • Confirm the exact model, region and revision.
  • List every included accessory and every missing item.
  • Separate visual inspection from functional testing.
  • Photograph labels, ports, seams, damage and prior repairs.
  • Calculate the cost of cables, test media and likely service.
  • Decide which changes are reversible before beginning work.
  • Keep original parts and a written maintenance record.

A collector’s decision framework

Use four separate scores: originality, completeness, cosmetic condition and verified function. A system can be excellent in one category and poor in another. Decide which category matters most for your collection before paying a premium.

QuestionLow-risk answerHigher-risk answer
What was tested?Specific media, ports and controllers“Powers on” or “worked before storage”
What has changed?Documented, reversible serviceUnknown repairs or cosmetic treatment
What is included?Photographed component listAssumed completeness
What happens next?Known cleaning or service planOpen-ended diagnosis

How to document and disclose the result

Keep the original listing, purchase date, seller description and your first condition photographs. Record every cleaning product, replaced part and modification. When selling later, distinguish verified facts from your own impressions. Clear disclosure protects the next collector and supports the value of careful work.

Good collector practice: preserve evidence before improving appearance. The history you remove cannot always be reconstructed.
Expanded field guide

Putting Loose vs boxed collecting into practice

The following workflow turns general advice into repeatable collector decisions. It is deliberately conservative because vintage hardware is finite, replacement parts vary in quality and irreversible work can reduce historical value.

Define the objective before touching the hardware

Decide whether the priority is historical preservation, regular play, resale preparation, cosmetic presentation or fault diagnosis. These goals overlap, but they do not always recommend the same action. A preservation-first collector may accept yellowing and retain original components, while a daily-use owner may prioritize reliability and safe replacement parts.

Write the objective at the top of a worksheet. Record the console model, serial number, starting condition, included accessories and current faults. This simple step prevents project drift and creates a record that follows the hardware.

Gather evidence before intervention

Photograph every side, label, port, fastener and defect under neutral light. Save close-ups of cracks, discoloration, corrosion, missing pieces and prior repairs. When opening is justified, photograph screw locations, cable routing, shields and connector orientation before moving them.

Do not clean away evidence before documenting it. Residue, dust patterns, seal condition and tool marks can help explain storage history or previous service. Documentation also protects against confusing similar parts when several projects are on the bench.

Use the least invasive successful method

Begin with observation, dry cleaning and external testing. Escalate only when the previous step cannot answer the question or correct the problem. Avoid combining multiple changes at once because doing so makes it difficult to identify which change helped or caused a new fault.

Use materials that are known to be compatible with the exact plastic, coating, label and metal involved. Test uncertain methods on a hidden area or expendable part. Stop immediately when color, gloss, texture or printing begins to change.

Maintain parts control

Use labeled trays or bags for screws and small parts. Separate fasteners by location even when they appear identical, because length and thread differences can damage posts or boards. Never force a screw that does not start easily by hand.

Retain original components removed during service. Label them with the console serial, date and reason for replacement. A future owner can then evaluate the work and, when appropriate, reverse it.

Document testing conditions

Record the power supply, display connection, media, controller and duration used for each test. Note whether the system was cold or warm, whether the fault was repeatable and whether moving a cable changed the result. “Works” is not a sufficient service note.

When comparing before and after behavior, change one variable at a time. Use the same display, media and controller whenever possible. This makes the result meaningful rather than anecdotal.

Common decision errors

  • Assuming a cleaner appearance means better internal condition.
  • Using an adapter because the connector physically fits.
  • Replacing many parts before confirming the fault.
  • Discarding original components or packaging.
  • Applying aggressive cosmetic treatment before understanding collector impact.
  • Trusting undocumented “refurbished” claims.
  • Testing only long enough to see a power light.
  • Shipping accessories loose inside the same box as the console.

Collector worksheet

AreaRecordDecision
IdentityModel, region, revision, serialConfirm compatibility before purchase or service
ConditionCosmetic, structural and functional faultsPrioritize safety and stability
OriginalityReplacement parts, shell swaps, labels, modificationsPrice and preserve accordingly
CompletenessPower, video, controllers, media, box contentsBudget missing pieces
EvidencePhotographs, receipts, service notes, test videoReduce uncertainty
StorageEnvironment, battery removal, cable supportPrevent new damage

When to stop and seek specialist help

Stop when mains voltage, damaged power supplies, severe corrosion, leaking capacitors, broken traces, unstable optical assemblies or rare irreplaceable plastics are involved. A specialist is also appropriate when the console is unusually valuable, historically significant or difficult to replace.

Choose a technician who documents work, explains alternatives, returns removed parts and avoids unnecessary cosmetic treatment. The cheapest repair is not always the least expensive outcome when poor work creates additional damage.

Aftercare and review

After completing the work, repeat the original test sequence and compare results. Photograph the finished condition, update the parts list and note any remaining limitations. Store the record with the console rather than relying on memory.

Review the system after several weeks of use. Some faults return only after heat cycles, cable movement or repeated media loading. A follow-up note makes the guide a living maintenance record instead of a one-time project.

Best practice: Preserve information as carefully as hardware. A modest console with clear provenance and honest service records is easier to value, maintain and sell than a cosmetically perfect example with an unknown history.